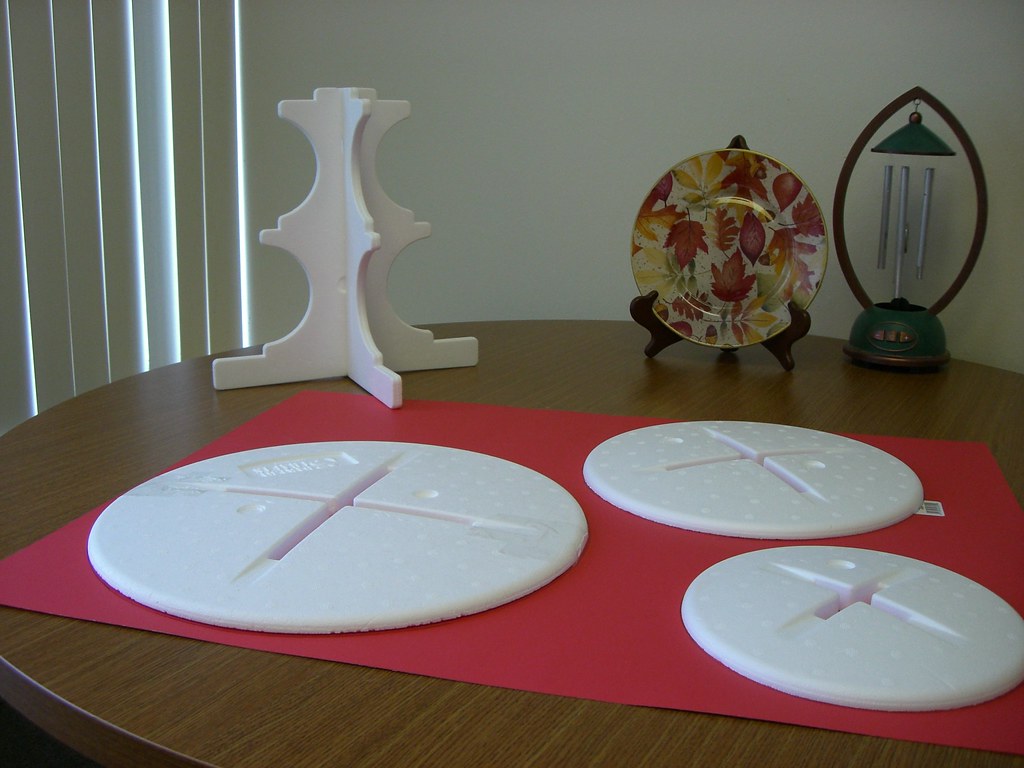
First, take the three disks and base out of the package and assemble the base (it's just two inter-locking pieces). The first tier I did, I used card stock, but had to piece it together for the middle and large disks, so for the red, white, and blue tier, I decided to try poster board (28" x 22") and that worked great. You'll need two pieces if you want to do a two color scheme like this one. Place the disks on the board (flat side down) and trace the circle and the inner "X" shape on the large and middle disks. Don't trace the "X" on the small size, you'll want to cover the cross piece with the solid color. Cut out your circles and the "X's".
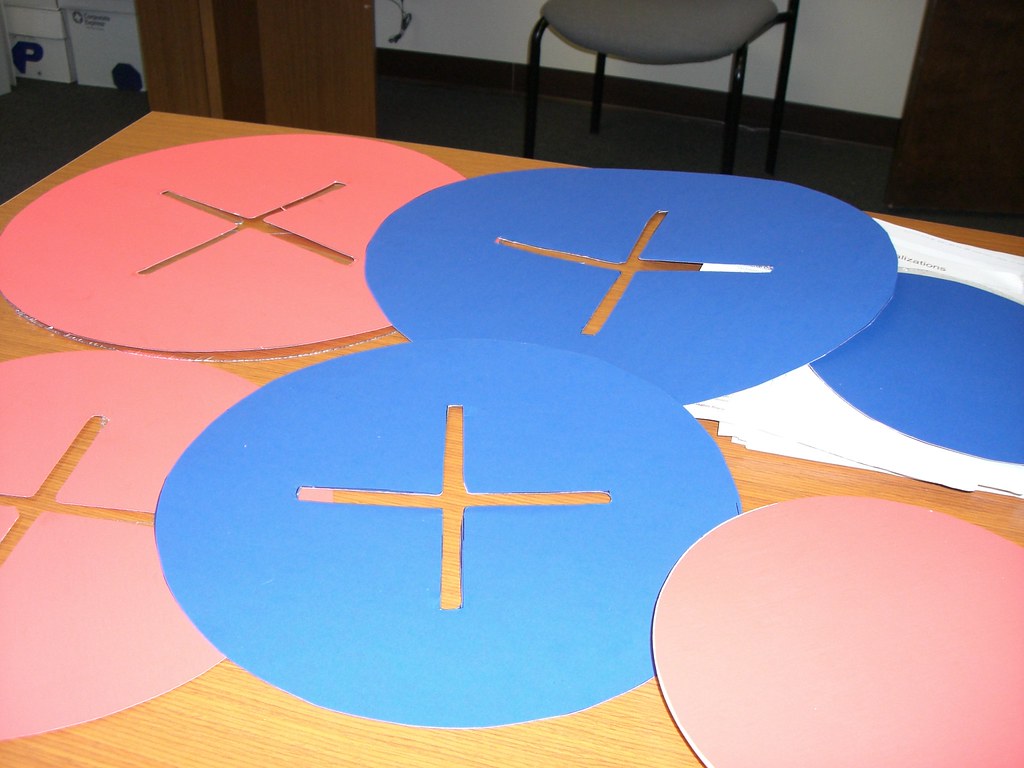
One of the things I wanted to figure out was how to cover the colored pieces with some sort of plastic to keep clean up easy. I looked for large enough pieces of plastic at the craft and office supply stores, but didn't really find what I wanted. I wound up using a large poster frame that I had in the garage. The plastic "glass" worked ok, but the plastic was pretty brittle and it wound up with some feathered cracks and even broke a bit with I tried to cut out the "X's". For a fancy wedding or shower, this really wouldn't be good enough to use, but for work and home use, I'm going to keep it until I figure out something better. Perhaps heavy gauge vinyl sheeting would work. On the other hand, I guess for a fancy occasion, if I was a professional baker, I would just sell this kind of decorated tier to the customer and they would keep it, so a plastic barrier wouldn't be necessary.
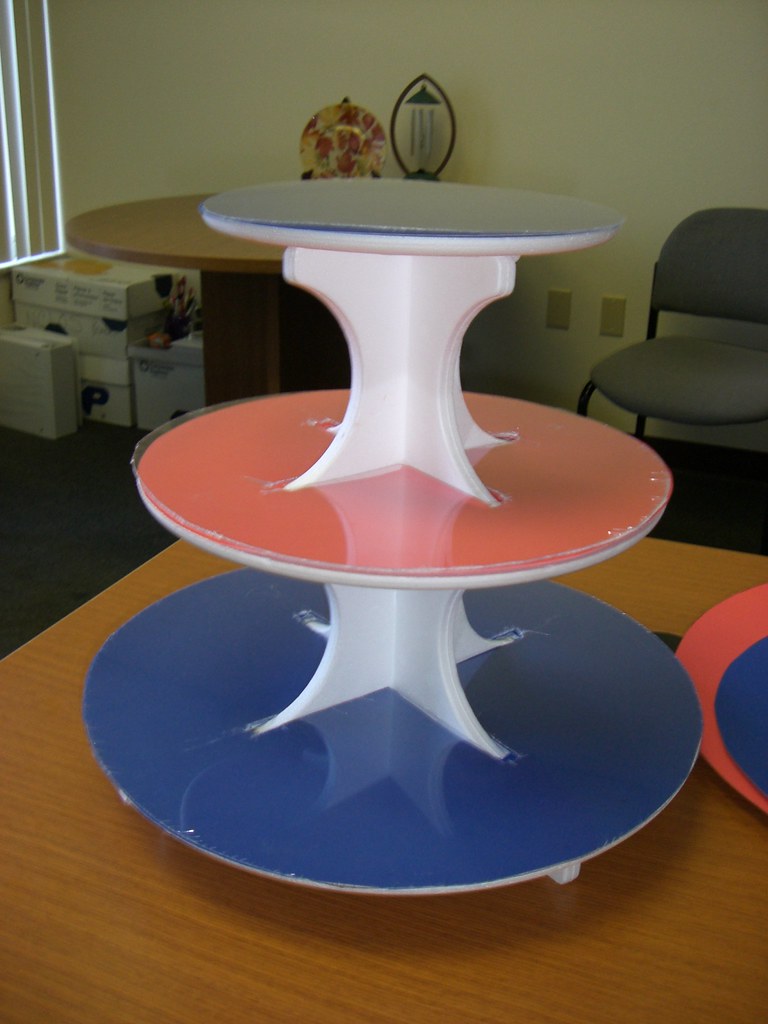
The next step is to assemble the parts - the large disk slips over the center support, then slip the poster board circle over. You'll need to ease it on and may need to trim the cut-out a bit to get it to fit, but that's not hard to do. When all the parts are together, you're ready to make the ribbon boarder to finish the horizontal edges.
Take a look at your poster board and make sure it's lying flat - it's ok to put a small length of tape just at the very edge of the board to keep it flat. I used a short piece at the four "corners" of the circle. Next, use some neutral colored card stock and cut it in strips the width of your ribbon. tape the ends of the card stock ribbon together to make a length to fit the edge of the disk. Use straight dressmaker pins to attach the card stock ribbon to the edge. Be sure to push the pin in straight so they don't poke out from the disk.
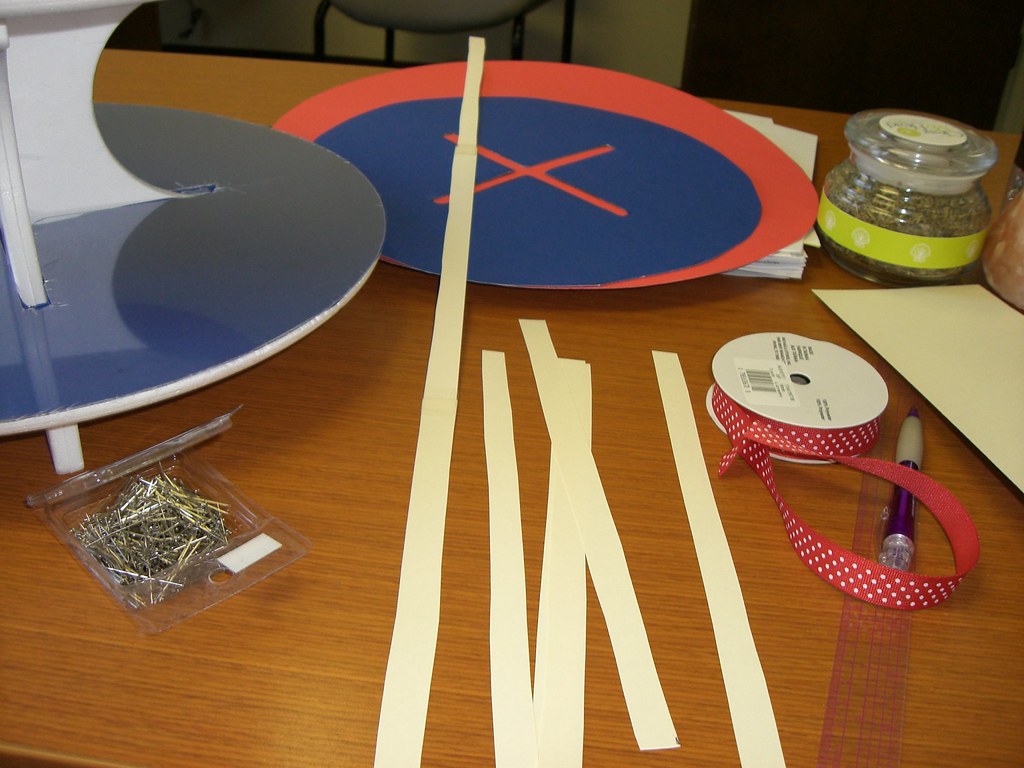
Next take everyone's favorite tacky glue "Aleene's" and glue the ribbon to the card stock. It's easier to glue it to the card stock ribbon plus you cover the heads of the pins that way. Just go slow, and hold it gently for a couple of seconds and it will stick just fine. You'll need about 7 yards of ribbon to complete the edges. This is grograin ribbon, but you can use a variety of types of 5/8" ribbon or wider. Don't get too carried away with a very wide ribbon, or when folks pull a cupcake from the inside of a tier, they may scrape some frosting on the ribbon. A cool idea might be to find some eyelet lace ribbon, then thread a narrow satin ribbon through.

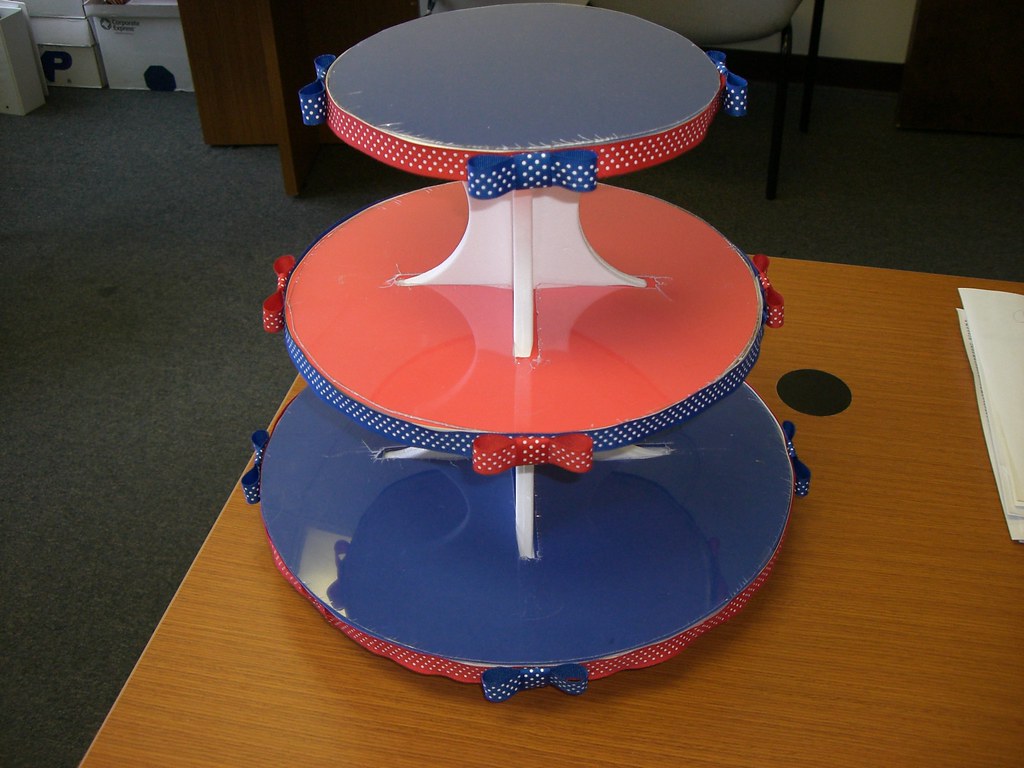
If you like, make little tailored bows for the four "corners" of the rounds. To make a bow, you'll need a length of 6" for the bow, and 2" for the knot. Just loop the longer length, and wrap that length with the shorter length of ribbon. Push a straight pin under the top loop but through the other 4 layers of ribbon. Turn the bow over, and put a bead of glue on the bow loops, then push straight into the disk, gently holding the loops to the edge for a couple of seconds.

And you're done! You can take this apart easily for a different color combination for the next event. Enjoy!


2 comments:
That's adorable!
Wow that turned out great looking!
Post a Comment